This will be care package #7...
If you just want to see simple pictures, here are the links to the pins of these packages: pin: fish in the sea care package and pin: someone in ____________ loves you
The theme for this is borrowed from the following pins: beach theme care package from milso pin_beach and milso theme care package pin_fish and Someone in ________ loves you.
THE OUTSIDE:
 So, in my pin-research (yes, when I want to research anything DIY, I take straight to pinterest) I came across a ton of ideas for care packages! Lots of the ideas were themes which sound super fun! So far, the last 5 haven't been themes (unless you count the b-day package I sent) so I am going to give the theme idea a try!
 It will be my first themed care package! I was a bit stumped on the theme. I am hoping to send it out this week and that it will arrive there at the beginning of September. I thought about doing a fall theme but I want to save that for a bit later...Not that it really "feels like fall" here in HI but then again, I'm from California and we don't exactly get the "fall colors" so much. OK, enough about that...
This is the bottom of the box. I didn't know what to put on the bottom and then I saw this beautiful paper. I think the theme of it is fitting. :)
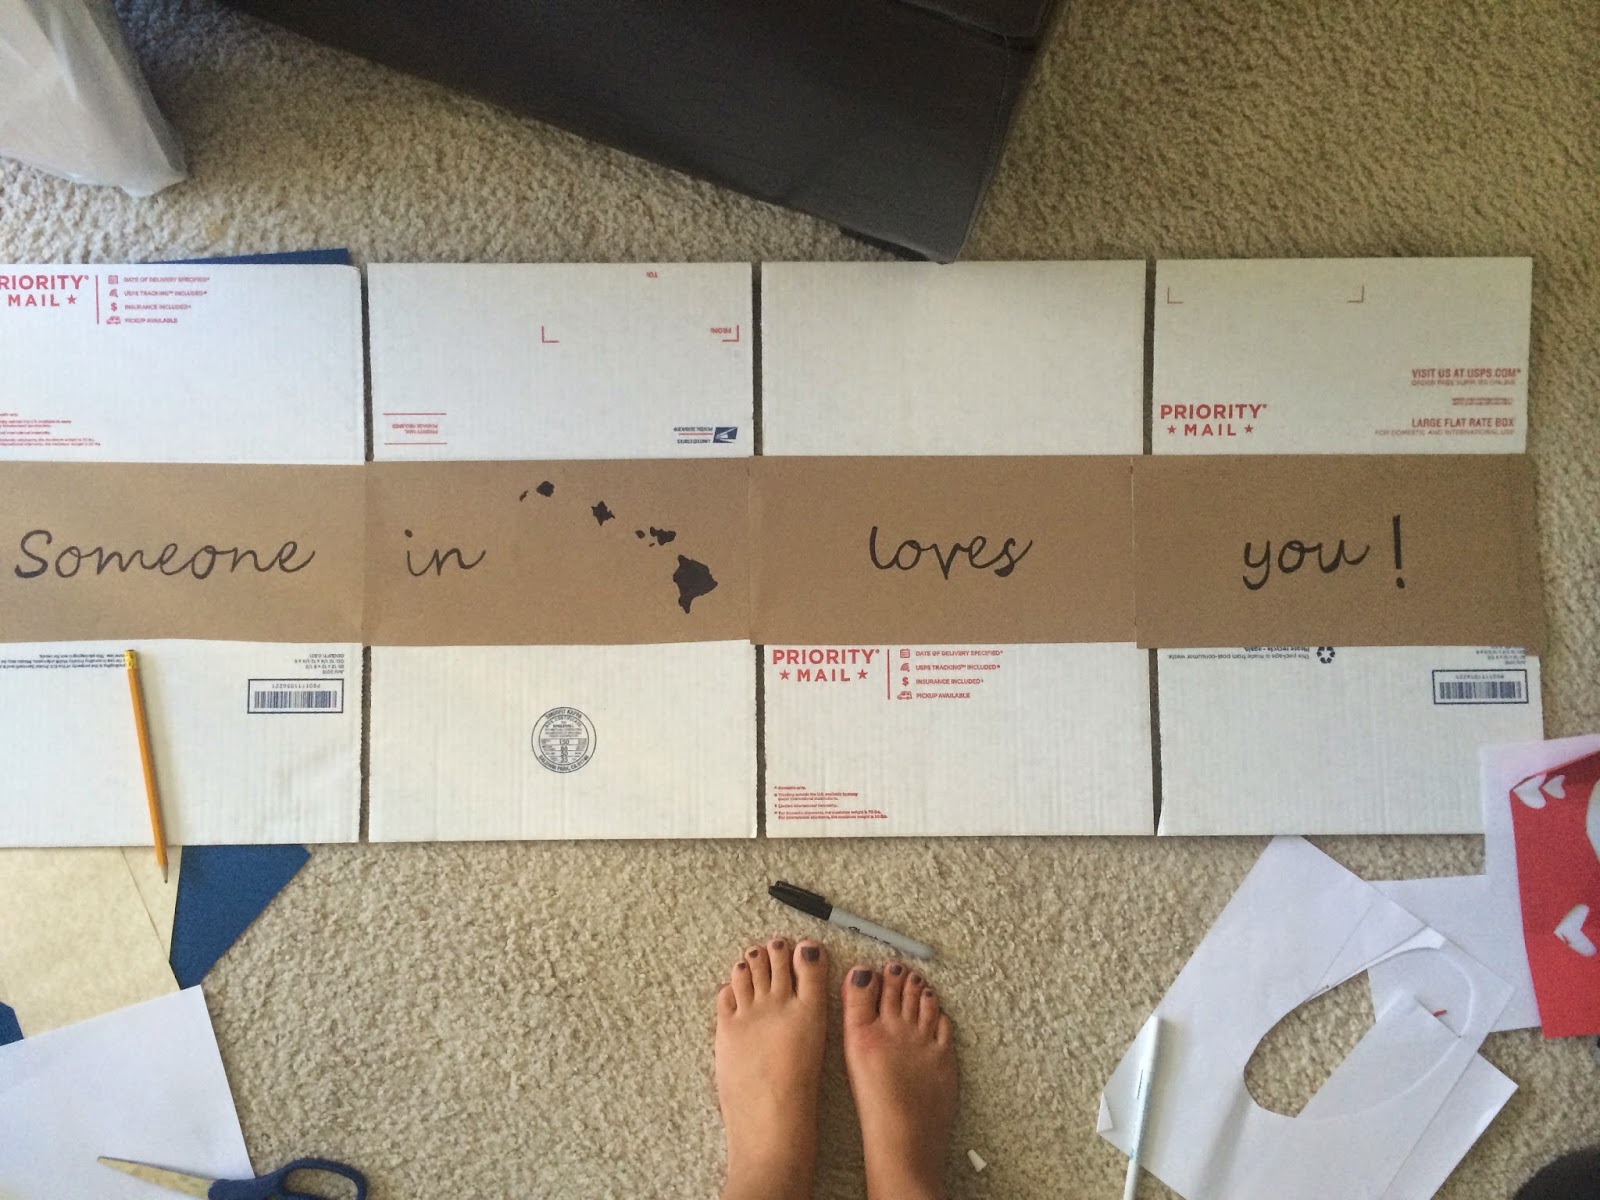
This took careful planning. I wanted it to look beautiful and I don't have perfect penmanship so I printed off the words I wanted. I then traced over them in pen (think the regular cheap pens that you can press hard on the paper to make an indentation) So, cover the box with the paper you're writing on, then print out the word you want to write. Trace over the word in pen, then remove the printer paper, trace over the indents you've made on the box with sharpie, and voila! You have beautiful handwriting that looks like a font!
 THE INSIDE:
The best method of decorating the inside of a care package is hands down to cut open the box! I really like using scrapbook paper. I of course stole this idea from a pinner on pinterest as well....It's close to half of a page for each flap section. Note that when the box is laid out flat, each of the 4 panels are basically divided horizontally in thirds. I would highly suggest that you get an extra piece for each part that you're doing because it doesn't always end up the right proportion of a page left or if you're like me, you might make a mistake cutting. It just saves yet another trip to the craft store.
Also, stock up on stickers! They really come in handy (I cannot draw at all!) Plus, they help you personalize and can fill up any extra space. I tend to use 1-2 packages of stickers (they're usually meant for scrap booking) but I'm still looking for more economical ways to get stickers.

I did the "sand" first and then used blue paper to make the ocean. I got cute ocean critter stickers to put in the ocean and some border type stickers to put on the "sand."


 Just in case of getting sick...You can also take off the lid so you can leave a secret note inside (I did.)


I just did this lettering free-hand. It's not perfect but I think he'll like it.

This is a set of accordion style envelopes. They are taped together. I didn't want the envelope part to show so I taped blank cards (essentially flat pieces of paper) over the top of the envelopes. They just have little notes in them.

This is a card I made. The one that I modeled it after used a tiny clothespin but I couldn't find the tiny clothespin I know I have laying around here...
No comments:
Post a Comment